We are often asked
“If a knot falls out leaving a knot hole, what do I do”??
The most important thing is to pick up the knot right away and save it! Do not lose the knot.
If a lawn mower runs over it, chances are it will be lost or chopped into pieces.
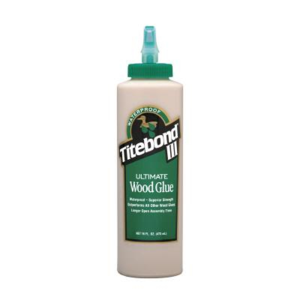
Our favorite glue to date is “Titebond 3” which can be found at your local home center. Most any waterproof, outdoor glue will do just fine. We like the Titebond because it dries to a nice brown color which matches the color of the wood very well.

Get the knot and familiarize yourself with how the knot fits in the hole. It will usually only fit one way.
Once you have that figured out simply get your glue and apply it to the picket wall of the knot hole and to the outer edge of the knot itself.
Install the knot back in the hole and position for best fit. Go ahead and check the rest of the fence for loose knots and take care of them while you have your glue out.
Generally, once you glue the knot, you should not have to do it again.
Wipe off any excess or drips and let it dry! That’s it!!
Here is a video to show you how….

